
A Restaurant Menu Photography Shot List for Menu, Delivery and Social
Plan accurate food images for different uses, with consistent portions, useful crops, reliable naming and a practical kitchen schedule.
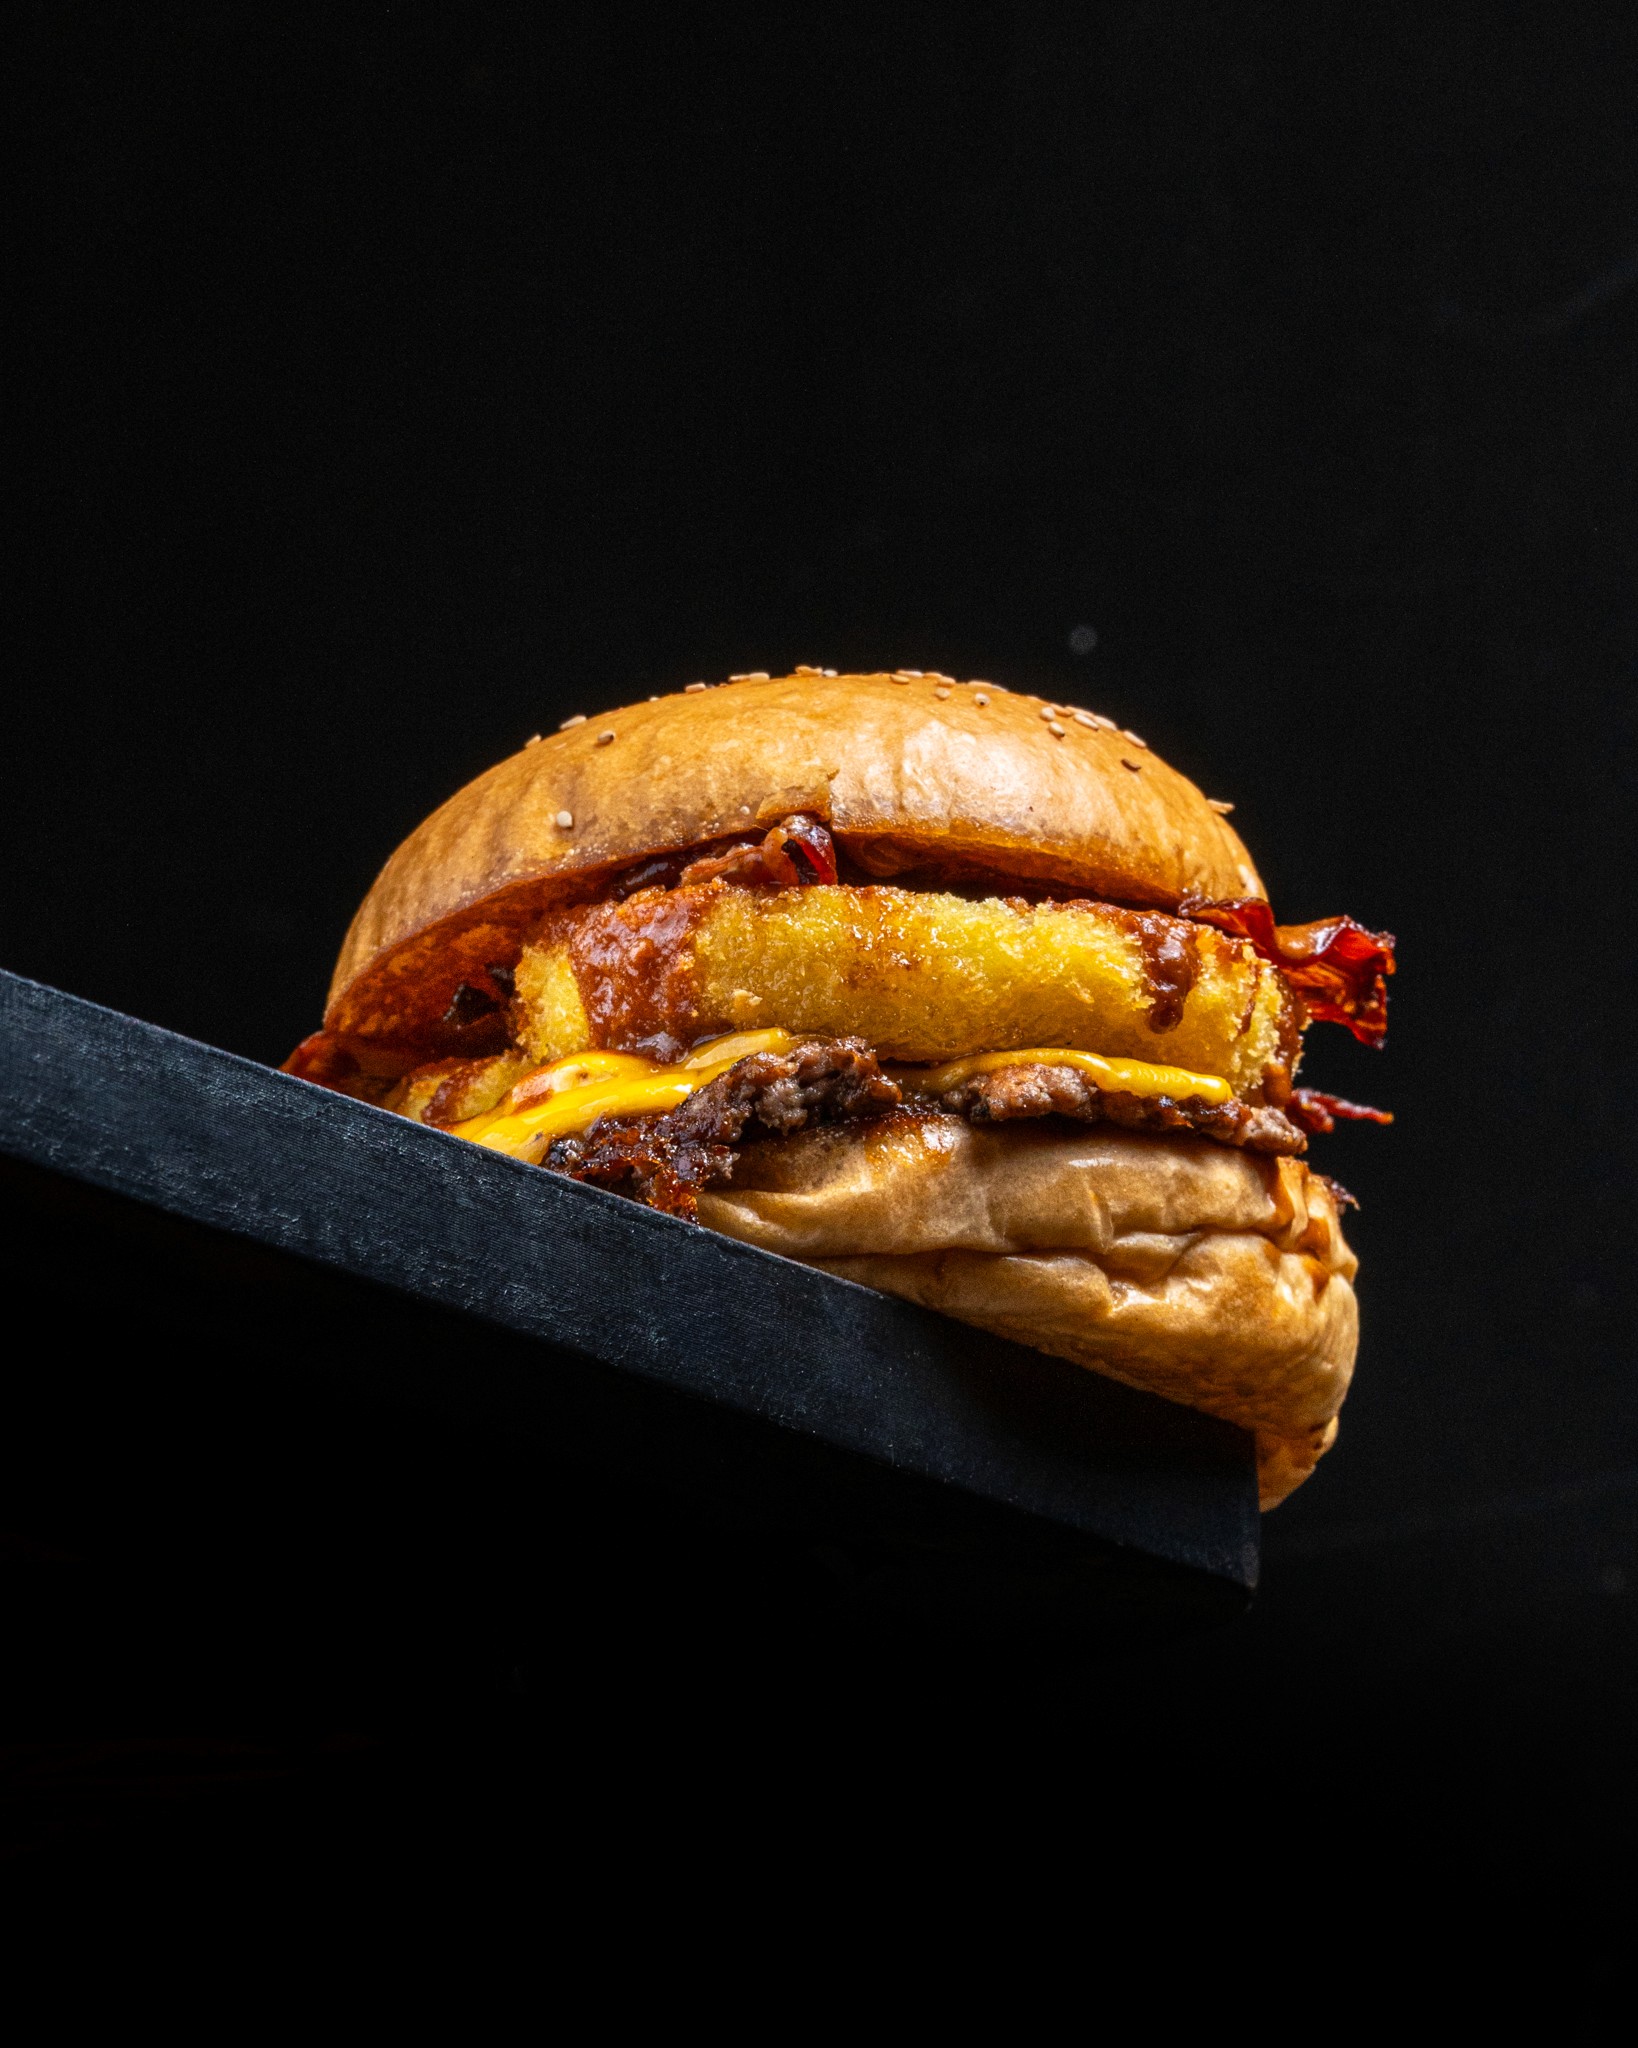
A restaurant menu photography shot list should connect every dish to its intended use. A menu needs clear recognition, a delivery listing needs an accurate representation of what arrives, and social content can show more atmosphere or preparation. Plan those requirements before the kitchen starts plating. One attractive photograph may not work for every crop, background or platform, and a styled hero should not misrepresent an ordinary serving.
Build a dish and destination inventory
Start with the current approved menu, then mark which items need images and where each will appear. Record the exact dish name, serving format, accompanying items and any variants that need their own picture. Ask who will confirm accuracy on set. Check the current image requirements for delivery and ordering platforms directly rather than relying on remembered dimensions. Prioritize missing or changed dishes before spending time recreating images the restaurant can already use.
Capture a consistent menu view
Choose a repeatable angle, background and lighting approach that makes different dishes easy to compare. Include the complete serving, not only an appealing detail. Keep props from suggesting extras are included when they are not. Ask a kitchen representative to approve the plate before photographing it. Record both an overall view and a useful detail where needed, but do not let decorative styling conceal the food or make a portion look materially different.
Treat delivery as its own use case
Confirm whether the ordering platform wants an isolated dish, a particular background or a specific crop. Photograph the actual serving accurately and clarify what is included. Where packaging matters to a separate story, capture it deliberately rather than accidentally mixing dine-in presentation with delivery expectations. Keep ingredient descriptions under the restaurant’s review. Do not create allergen or dietary claims from an image; direct those questions through the restaurant’s established information and verification process.
Reserve social variations and short motion
After the essential menu views, capture vertical crops, wider compositions with space for text and a few controlled preparation clips. Our one-shoot restaurant content ideas can help plan those variations without repeating the same post. For motion capture, use the professional phone Reels workflow to check framing and audio. Social footage can show context, but it should still represent a dish and service the restaurant actually offers.
Schedule the kitchen and name the files
Group preparations in an order the kitchen can support, allowing time to clear and reset each scene. Photograph foods while they are representative and ask about any safe handling constraints before arranging the shoot. Use filenames or a shared manifest connecting each approved image to the exact dish and destination. Keep originals and final exports separate. Note any menu changes during review so an outdated item is not accidentally uploaded simply because its photo looks finished.
Approve a usable image set
Review the final selections for serving accuracy, crop, color consistency and current availability. Ask the manager to approve the mapping between files and menu entries before upload. Keep an update list for seasonal or recipe changes. To organize a restaurant photography session, discuss the shot list with ACEVANT. Bring the current menu, destination requirements and filming window so the scope supports real operational needs rather than an arbitrary number of attractive pictures.